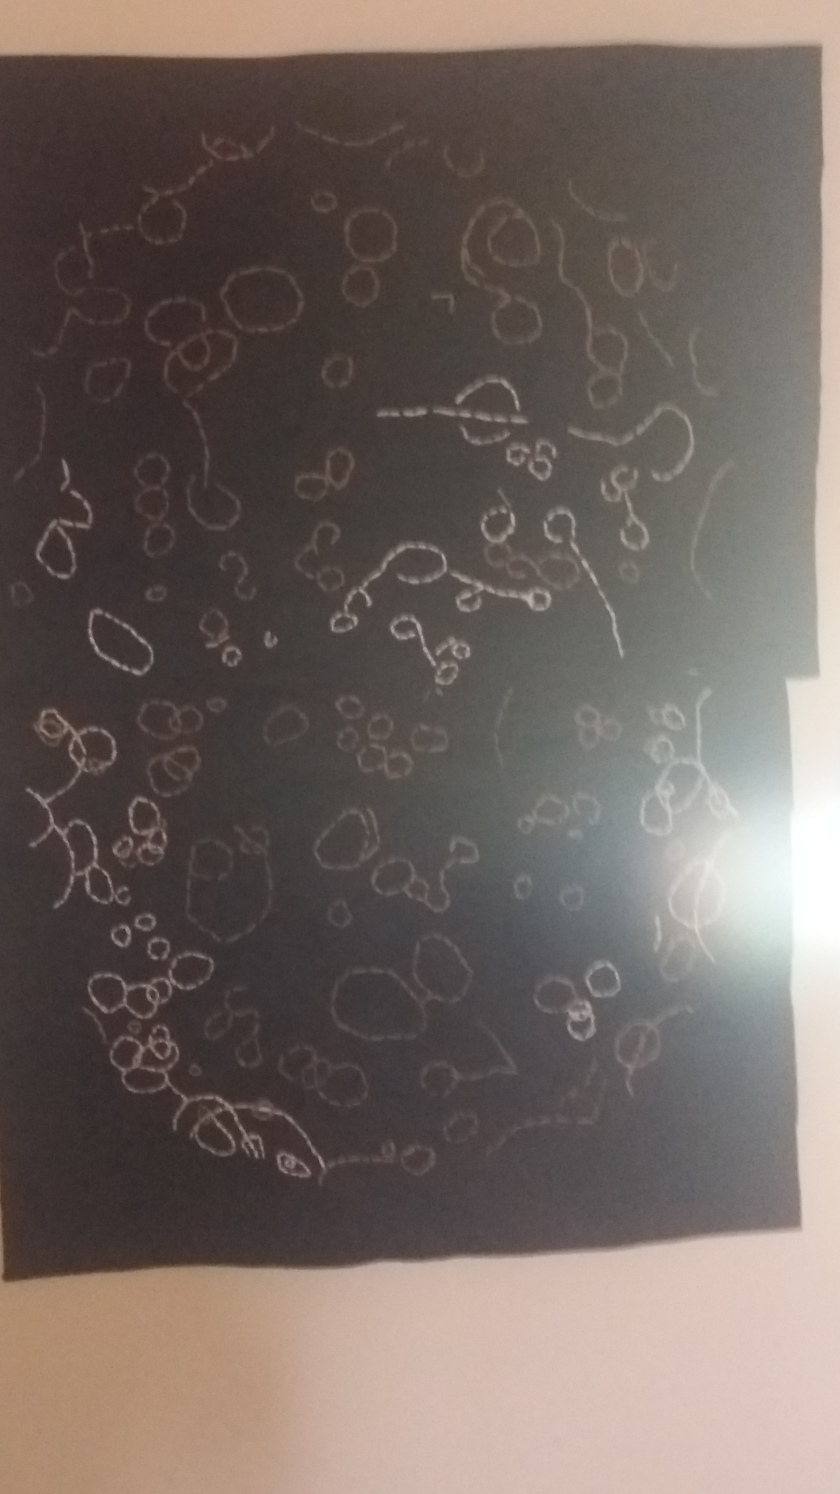
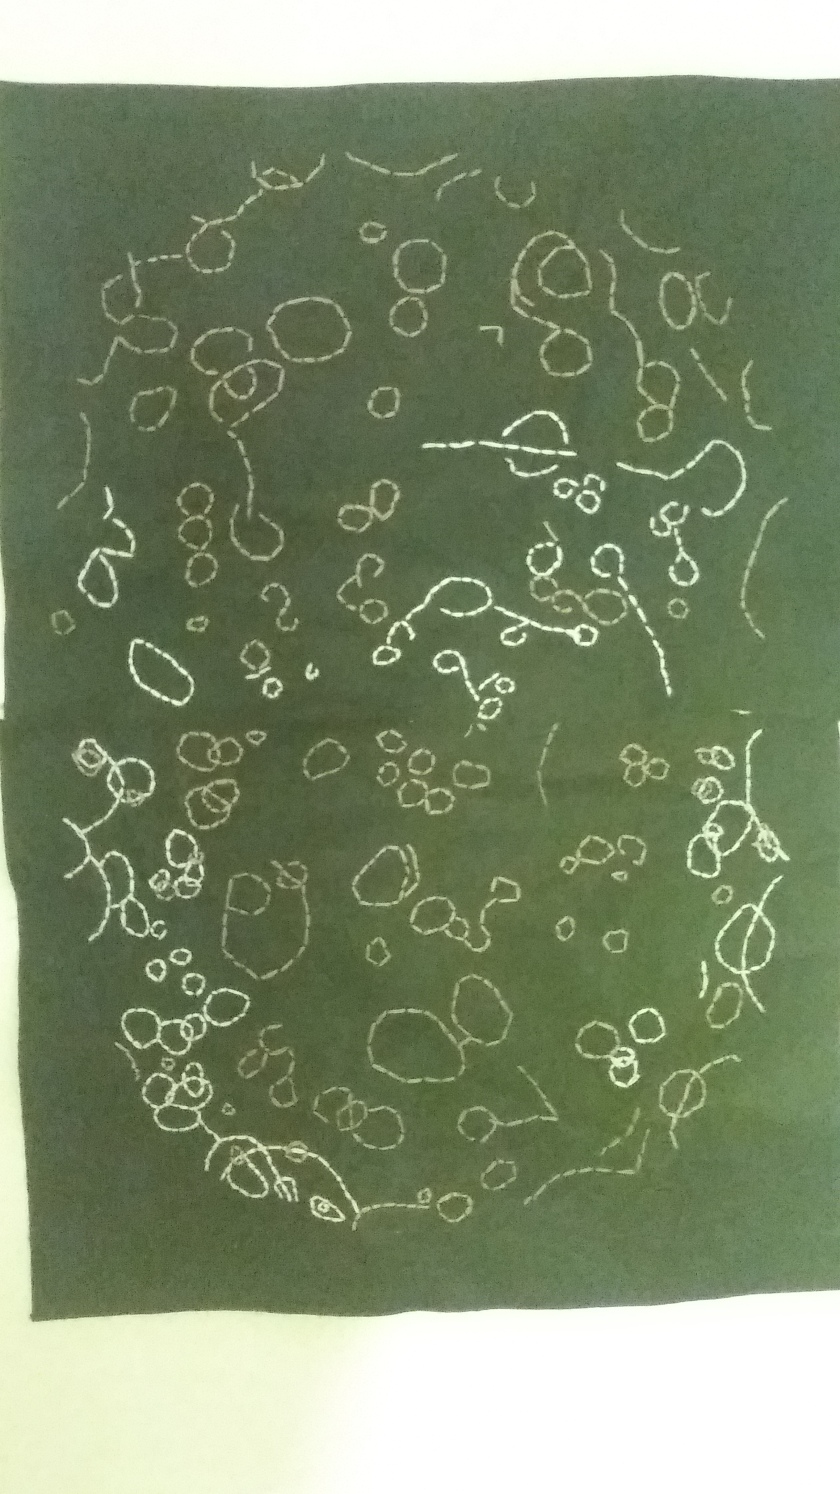
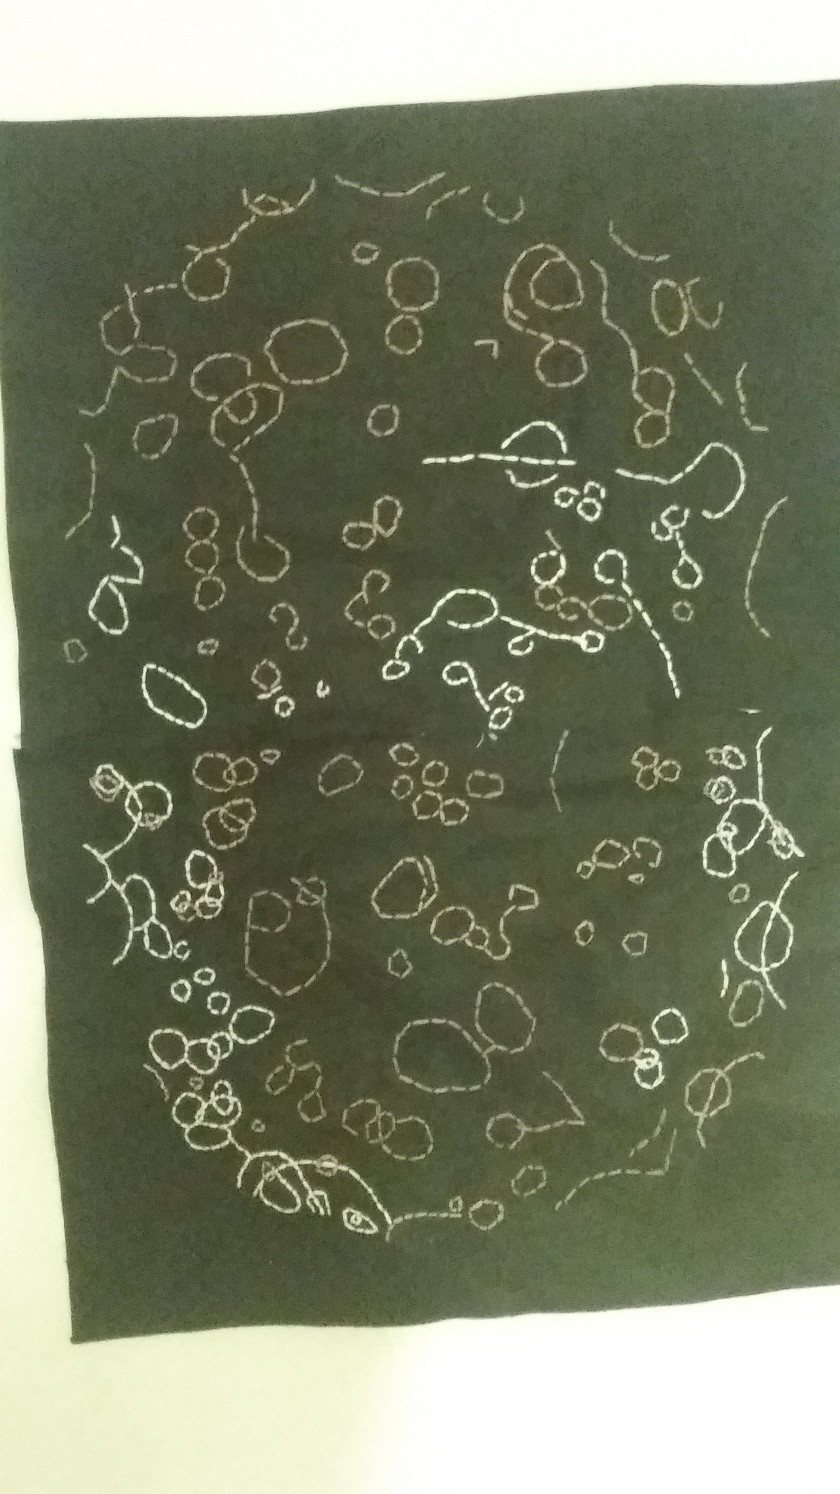
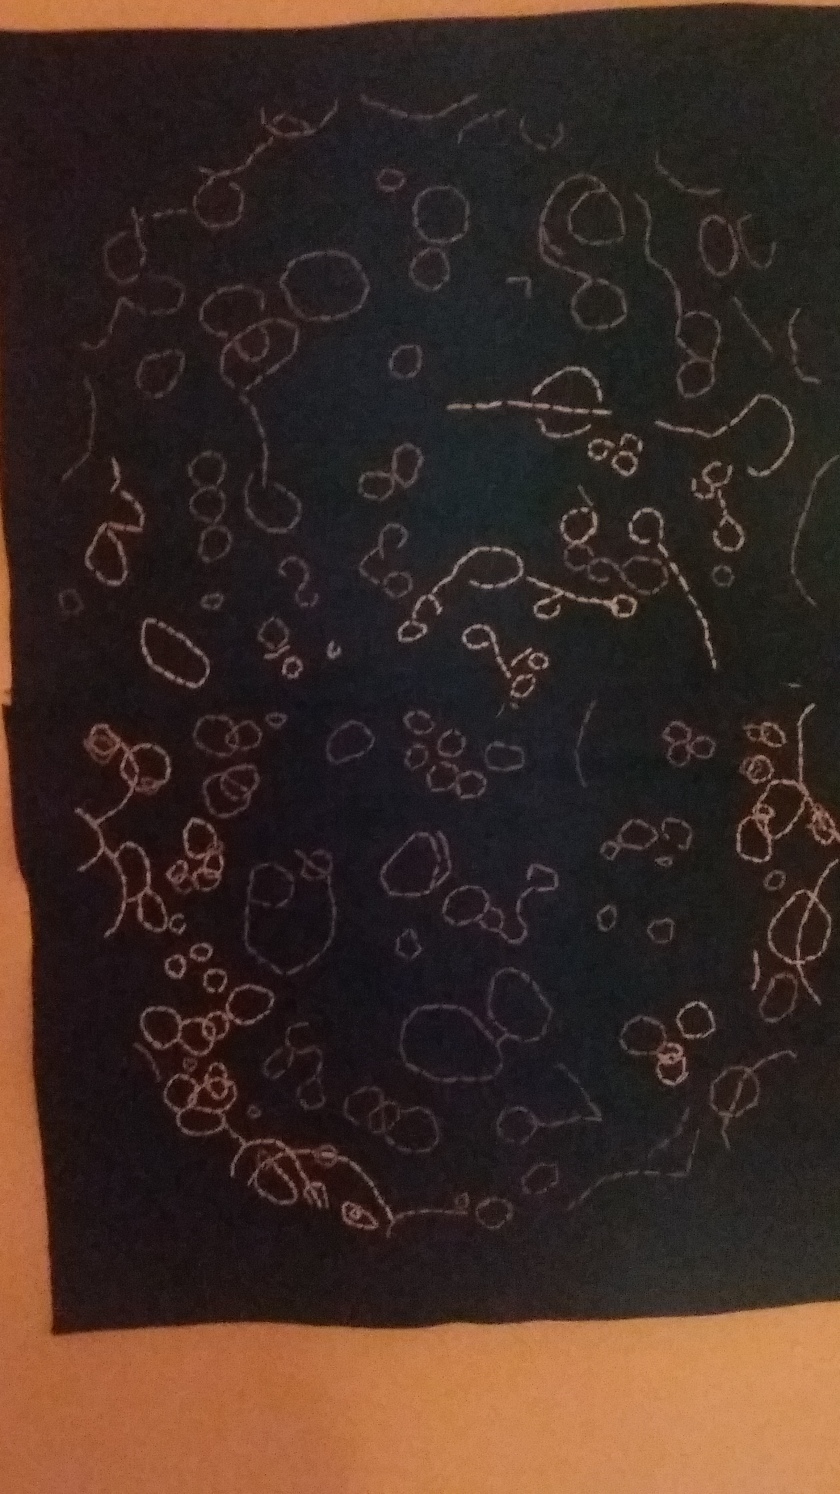
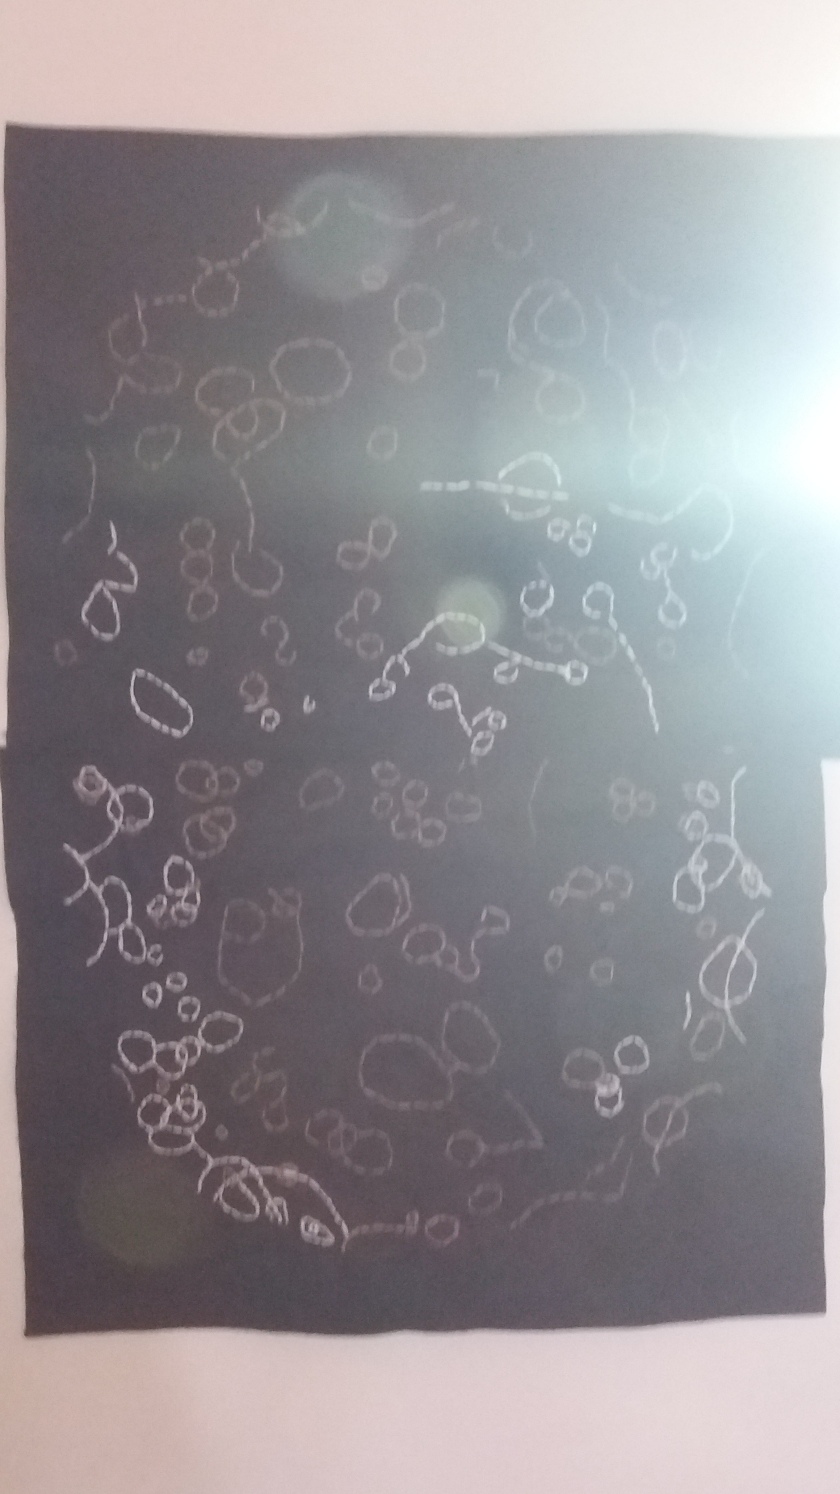
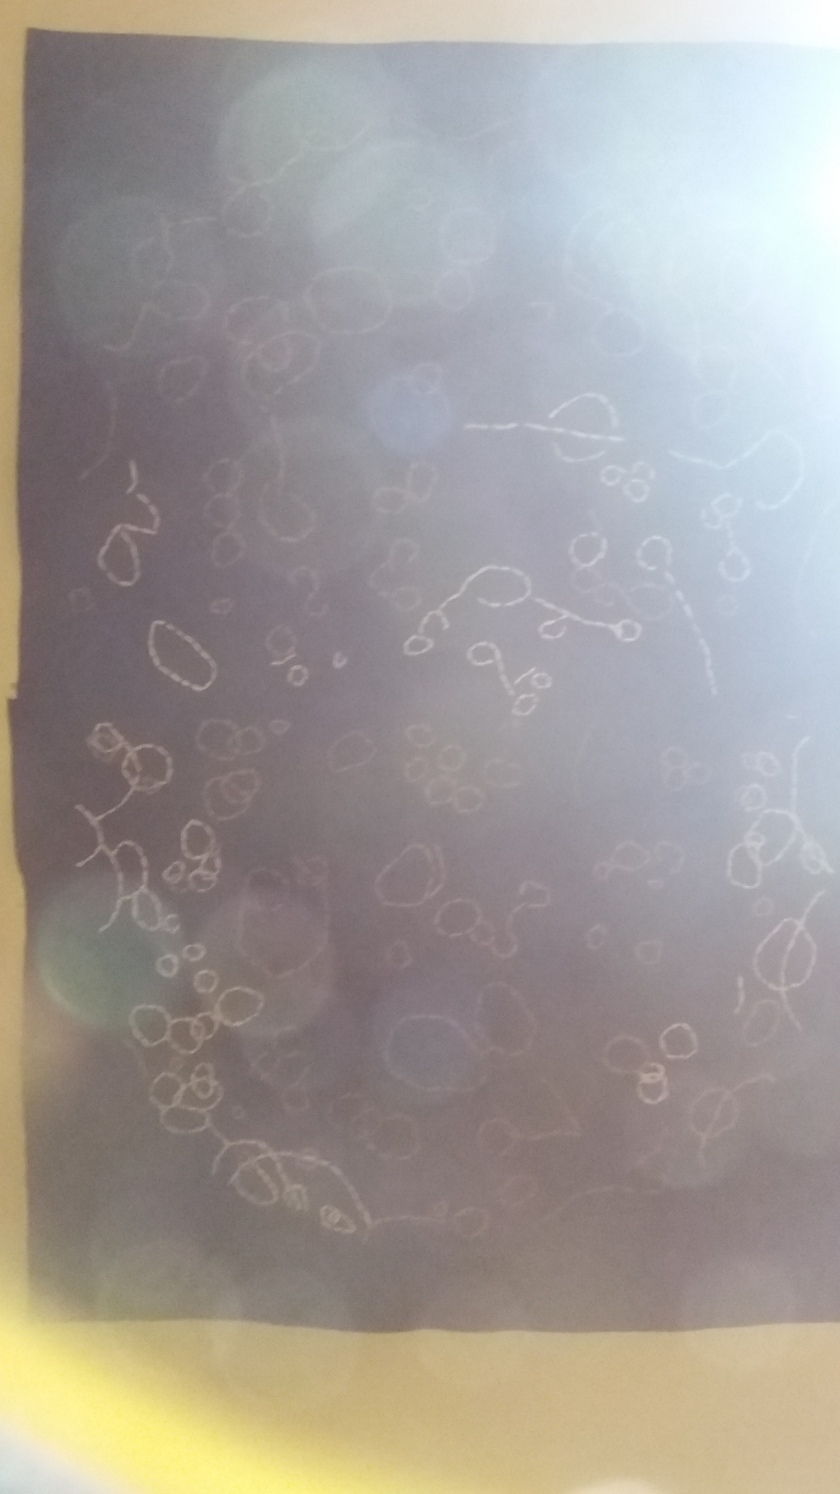
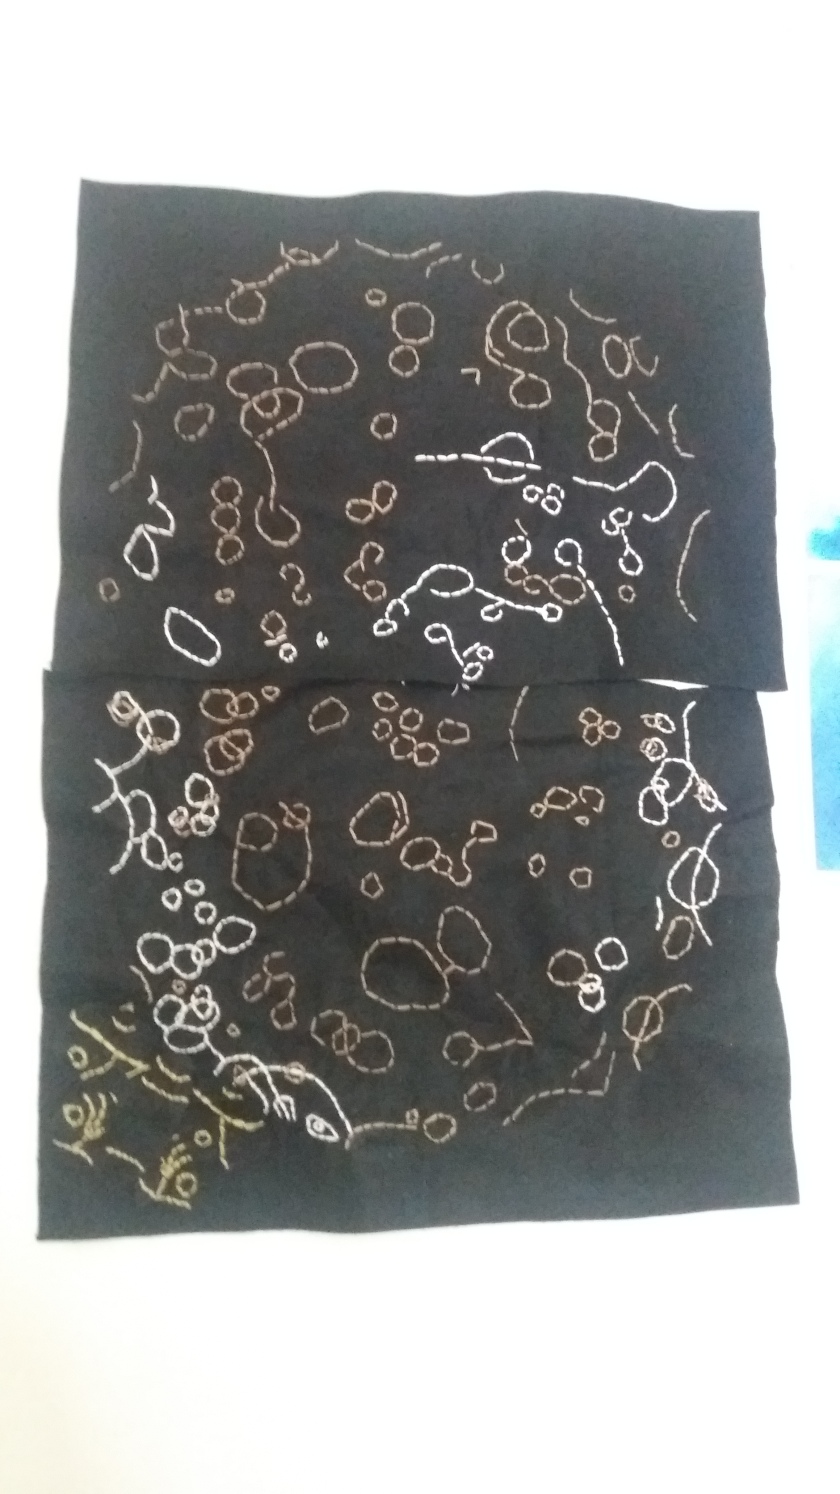
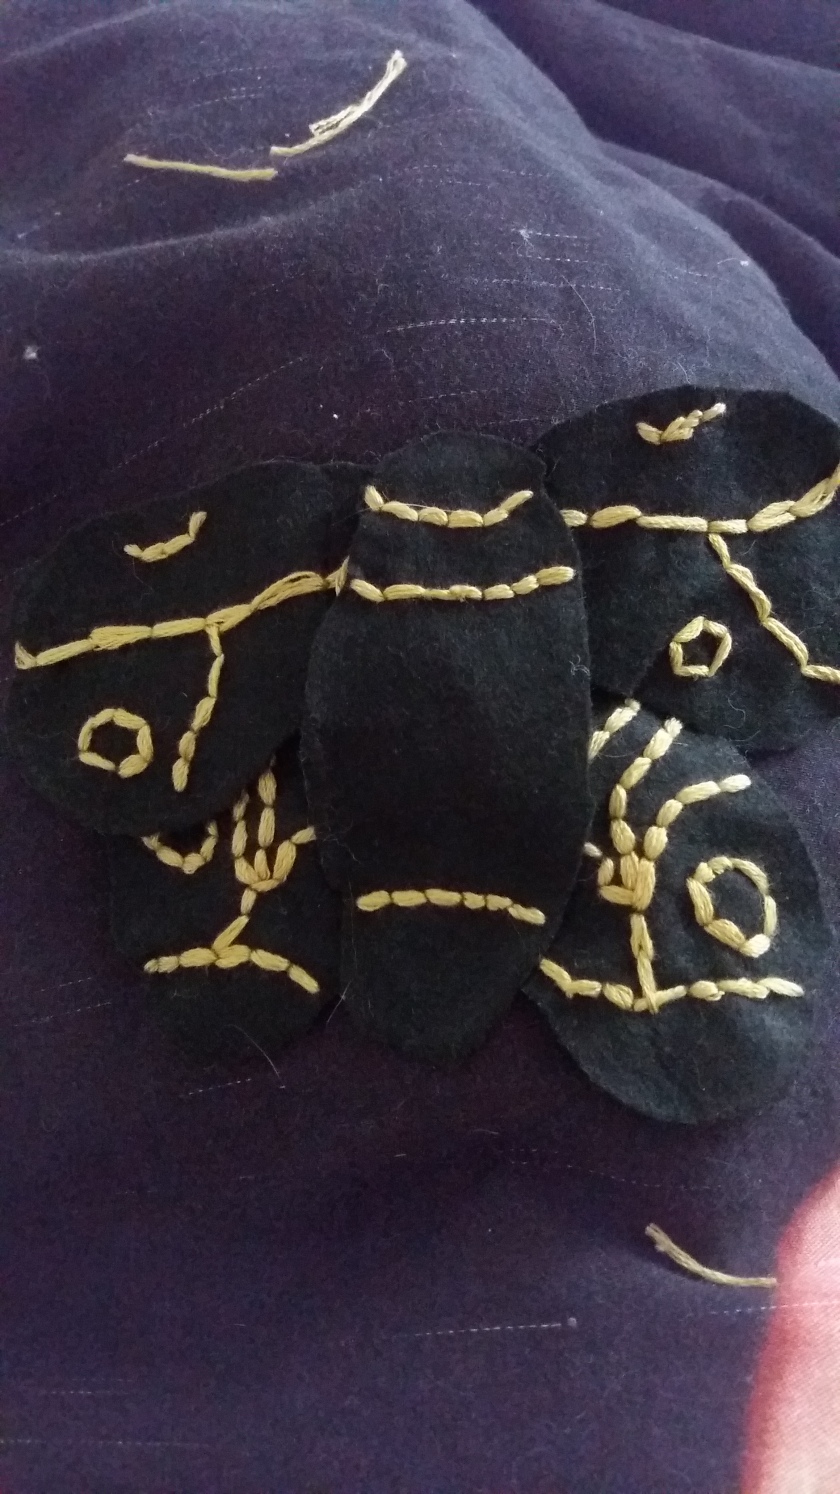
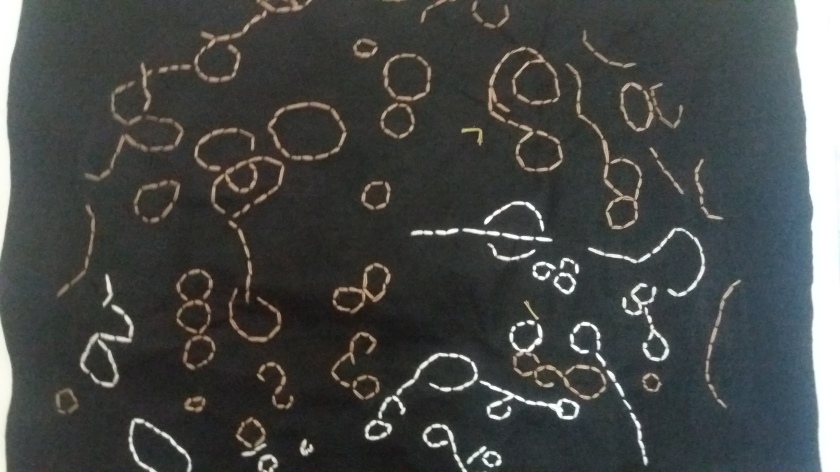
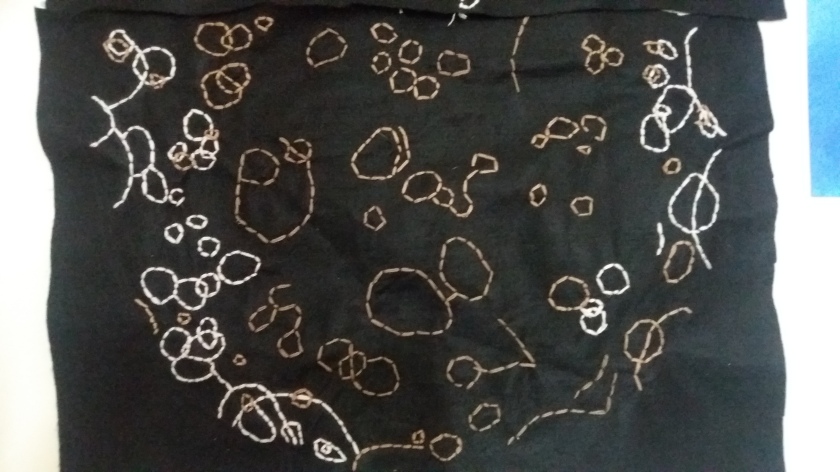
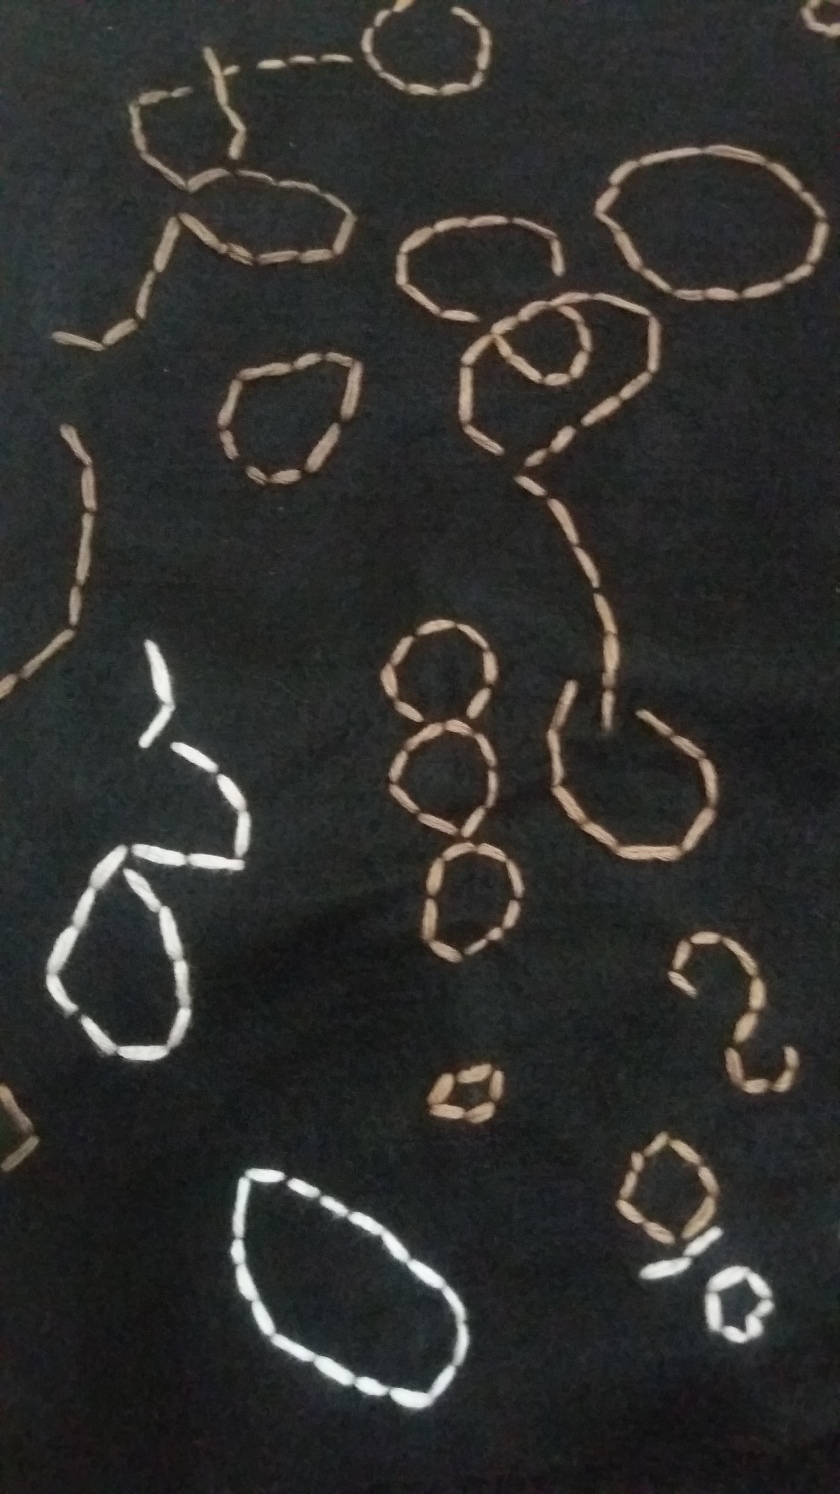
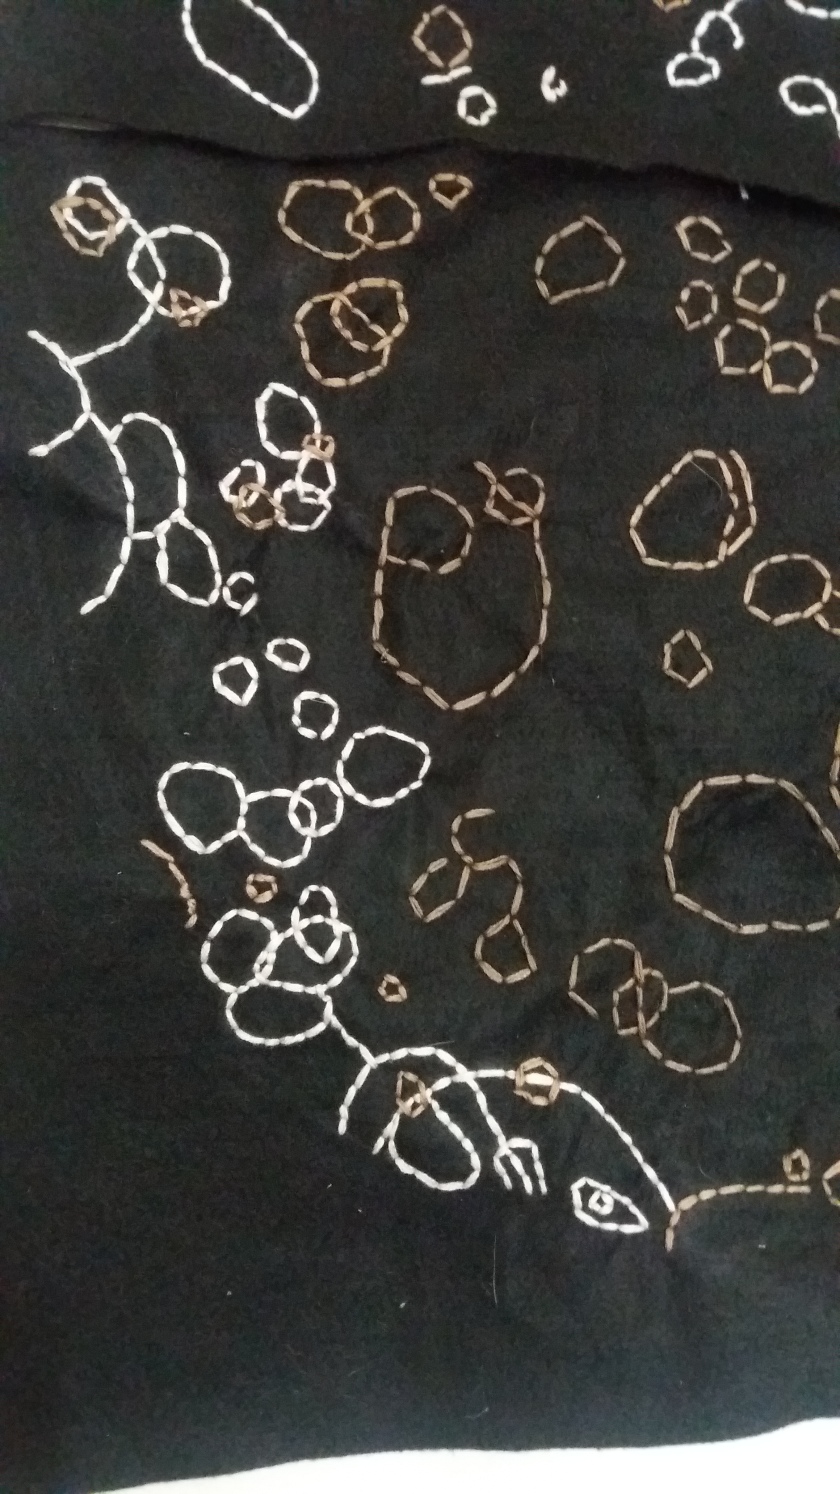
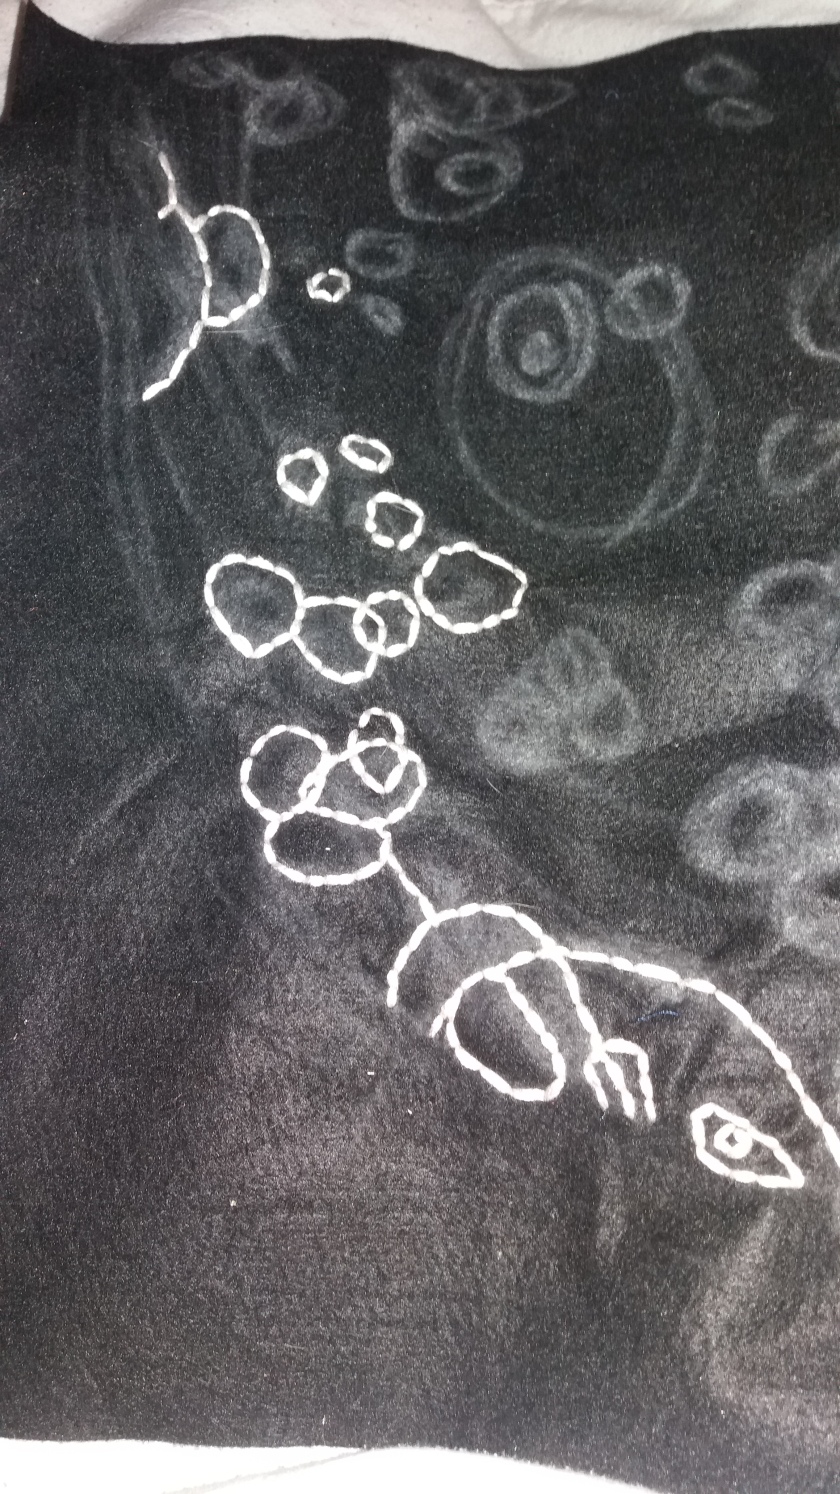
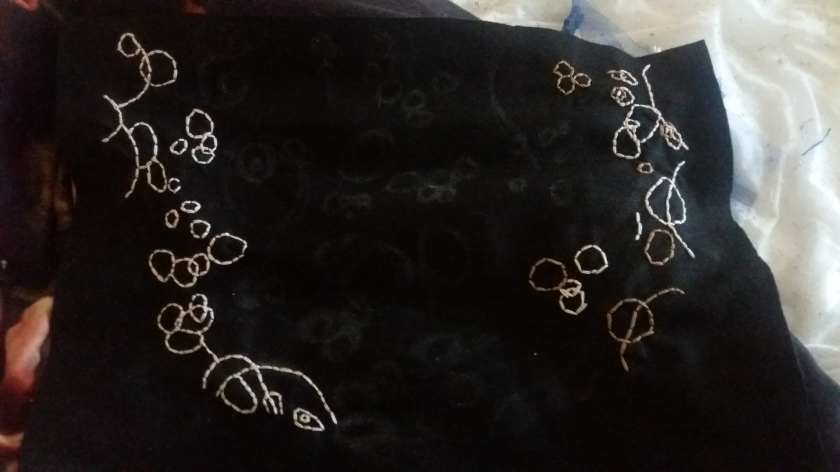
Throughout my light project I have looked at different mediums, and ways of working light into my artistic practice. For a while I was drawn into painting and using light as my main inspiration but I then wanted to explore different textures, by using thread and felt. I really liked the final outcome from my light project because I have created a physical map of the moon, I used the light areas as my base guide, stitched the craters, and then lit up the final piece with different lights.
Category: Field Retrieve
Lunar Map Photographs
I wanted to experiment with different colours and textures of light play, I used the camera lenses over the top of my phone camera and then put in my phone flashlight. I really like the images with light spots over the top of the image it gives a very vintage photograph feel, like the images taken of the moon on the Apollo missions.
I really like the images with brighter colour balance because it highlights the stitch work in the background, and links into the light theme I was going for.
Camera Lenses
To edit my moon piece I decided to use natural light, bright light from a camera flash, and a couple of different camera lenses. I want to edit my pictures with as much natural light as possible.
Lenses:
- SEPIA
- WARMTONE U.V
- SKYLIGHT 1-A
- FL-W
- Y (K2)
Lunar Map and the Moth
Moth Experimentation
To extend the idea of light I have been working with moths, how they are drawn to light and how they have been known to follow the light of the moon despite no reasoning behind it. I wanted to create a story behind the piece that made the viewer think about the subject and creation. I started by researching images of moths that i could translate into my own project. I chose a simply base line of a moth and traced it onto the same fabric i had used for the background so when put together it begins to meld together. I stitched each part on its own then stitched them together piece by piece almost like the original idea of creation. I embroidered patterns into the moth to echo the patterns you see both on moths in the wild and the patterns i had used within my lunar maps to show that everything has an influence on everything else in this world. I used the same muted greys as the moon but i also used greens to create an idea of a link with earth and nature compared to the more dry and dusty colours created by the moon surface. With moths now created, i could follow up this idea by hanging them in front of my lunar maps to echo the idea of them flying towards it and being drawn by its light.
![20170818_114346](https://amevansmaker.wordpress.com/wp-content/uploads/2017/08/20170818_114346.jpg?w=840)
![20170818_120015](https://amevansmaker.wordpress.com/wp-content/uploads/2017/08/20170818_120015.jpg?w=840)
Lunar Map – Top Panel
![20170818_140303](https://amevansmaker.wordpress.com/wp-content/uploads/2017/08/20170818_140303.jpg?w=840)
![20170818_140314](https://amevansmaker.wordpress.com/wp-content/uploads/2017/08/20170818_140314.jpg?w=840)
Lunar map- Bottom Panel
Lunar Map- Process
For the top panel I decided to use the same back stitch technique but instead of using pure circle patterns I used a couple of lines to detail in scars on the surface from impacts. The top of the piece has more structure in the shape because on the reference photograph I was working from there are more impact sites, so around the outside I have created half circles to detail the moons edge.
![20170818_012343](https://amevansmaker.wordpress.com/wp-content/uploads/2017/08/20170818_012343.jpg?w=840)
![20170818_140209](https://amevansmaker.wordpress.com/wp-content/uploads/2017/08/20170818_140209.jpg?w=840)
![20170818_140206](https://amevansmaker.wordpress.com/wp-content/uploads/2017/08/20170818_140206.jpg?w=840)
Lunar map – Process
To finish my lunar map I decided not to stitch a ring around the outside of the moon because I really liked the free flowing, weightless feeling of the stitch. The outside facing stitches are left open to give the feeling of a border without having to stitch around the outside.
![20170818_133427](https://amevansmaker.wordpress.com/wp-content/uploads/2017/08/20170818_133427-e1503060088193.jpg?w=840)
On this piece I have used white and brown thread for highlights and lowlights, I think the mix of threads gives a detailed pattern shape of the moon and the creators in its surface I have used the same back stitch across the whole piece and I think it had turned out just as I had planned.
![20170818_133450](https://amevansmaker.wordpress.com/wp-content/uploads/2017/08/20170818_133450.jpg?w=840)
Lunar Maps- Process
For the first section of my process I have been working on the bottom panel of the lunar map. For this section I have been looking at a map of the dark side of the moon, I think this works well for a play on light because even though we can not see this side of the moon we know that there is light, if only a little, on this side.
I have been at first using an off white colour but then I have started to use a muted brown colour to add depth and tone. I think this works really well because it makes the pice stand out even more against the black felt.
![20170817_212527](https://amevansmaker.wordpress.com/wp-content/uploads/2017/08/20170817_212527.jpg?w=840)
![20170817_212543](https://amevansmaker.wordpress.com/wp-content/uploads/2017/08/20170817_212543.jpg?w=840)
![20170818_005132](https://amevansmaker.wordpress.com/wp-content/uploads/2017/08/20170818_005132.jpg?w=840)
![20170818_005136](https://amevansmaker.wordpress.com/wp-content/uploads/2017/08/20170818_005136.jpg?w=840)
![20170818_015433](https://amevansmaker.wordpress.com/wp-content/uploads/2017/08/20170818_015433.jpg?w=840)
![20170818_015438](https://amevansmaker.wordpress.com/wp-content/uploads/2017/08/20170818_015438.jpg?w=840)
![20170818_101653](https://amevansmaker.wordpress.com/wp-content/uploads/2017/08/20170818_101653.jpg?w=840)